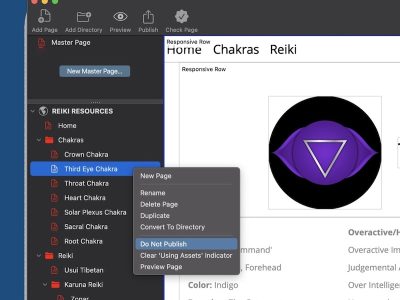
Last week EverWeb 1.3 was released with a ton of new features. Over the next few posts we’ll discuss these new features in detail (there’s a lot!). Here’s a quick list of what’s new in EverWeb 1.3;
1. Direct FTP Publishing
2. An ecommerce widget for adding a Paypal store and shopping cart
3. 404 not found error pages
4. 301 redirects (we’ll talk about why these are insanely useful below)
5. Password protection
There are a few more features and you can find more details on the ragesw blog post.
One of my favorite new features is kind of an advanced one to understand, but a simple one to use. EverWeb now lets you implement 301 redirects so you can redirect an old website to your new website without losing your search engine rankings and without requiring visitors to update their bookmarks. Don’t be intimidated though, these are very easy to understand and use in EverWeb.
What Are 301 Redirects?
When you update your site, you may add or remove pages, specifically if you are rebuilding them in EverWeb. The links for your old website may not work anymore. This means if your website is listed in search engines, users may be directed to your old, outdated site, or no site at all if your old site has been deleted.
301 redirects are a way to tell search engines, and your visitor’s web browsers, that a specific page on your site has moved and should be redirected to another page. The major benefit of 301 redirects is that you won’t lose your existing search engine rankings.
How do I use 301 Redirects
301 redirects are a new feature of EverWeb 1.3, so you’ll have to make sure you download the latest version.
301 redirects work on a per page basis, so you’re going to have to decide which page on your new EverWeb site should replace a specific page on your old iWeb site.
1. Open your website in EverWeb and select your new page.
2. In your web browser, visit the old page that you want to redirect to your new page.
3. In the Path bar at the top of your browser window, copy the entire URL to your clipboard.
4. Return to EverWeb and select the Page Settings tab in the Inspector (It’s the first tab). Scroll to the bottom where you see the Redirects section. Paste the full URL in that field.
5. Now publish your website and when you visit your old URL in your browser it will go to your new EverWeb page.
If you have any problems, post your questions here and I will try and help. The process should be very straightforward.
Stay tuned for the next release where we talk about some of the other new feature.


Don’t forget to mention that some of the updates in ver. 1.3 are only available to those who use Rage as a host server.
S