After the long build up the wait has finally come. Here is the first in a few tutorials explaining how to add various elements to iWeb using CSS3 and an HTML Snippet. This tutorial covers a postcard style image which, when a user rollover it will rotate and show the back half of the postcard on which can be written all sorts of information about the image on the front.
It is a great effect for photographers and graphic designers as more than one can be added to an iWeb page. The code (which can be downloaded from a link at the bottom of the page) is fully customizable, you don’t have to stick with what I have done. It is merely to be used as a starting point.
As I mentioned in my previous post in which I explained how an iWeb site is made up, we will be inserting the code from this tutorial into an iWeb HTML Snippet, publishing to a folder on the Mac and then adding a folder containing the images to the iWeb site saved on the hard-drive. So let’s crack on.
To begin with download the code snippet for the link at the bottom of the page and (I find it best) save it to your Desktop. Open iWeb and create a new page with plenty of space on it. Insert and new HTML Snippet; don’t bother to resize it or position it, we’ll be doing that later.
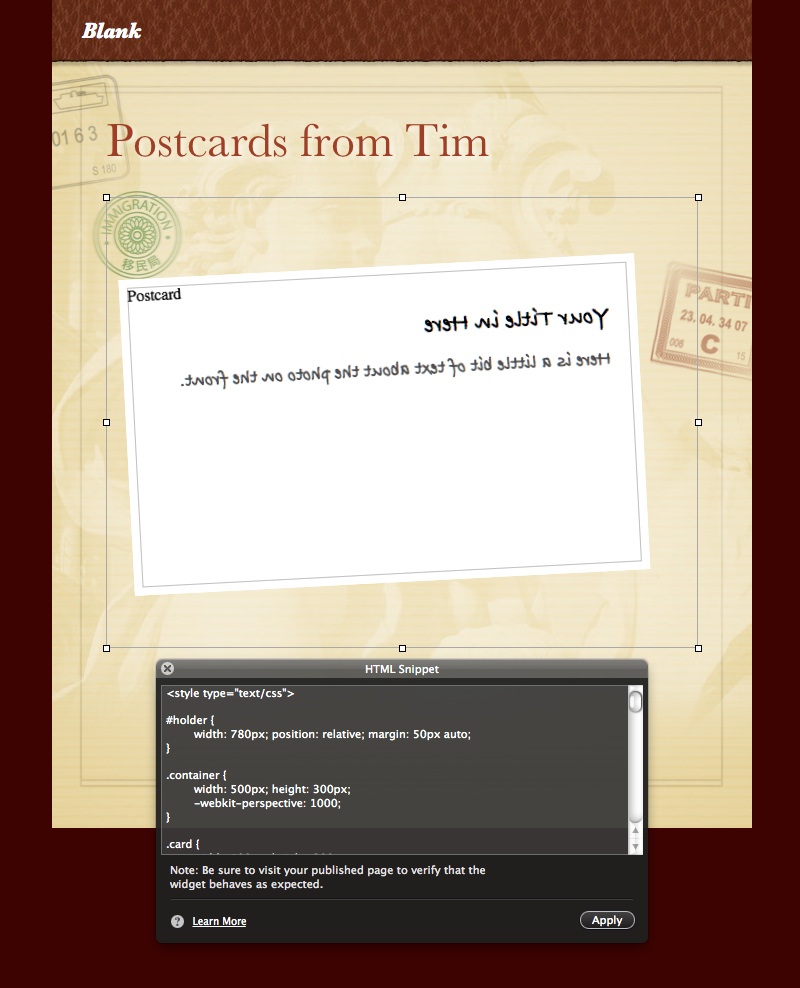
Open the code you downloaded in your HTML editor of choice and copy/paste all of the code into the HTML Snippet window, press apply and your postcard will appear as in the image below.
Now is your chance to resize and position the HTML Snippet window. Make sure that you allow enough space at the bottom of the window for the post card to rotate. You will now be able to see some of the animation in ‘real-time’ if you rollover the postcard. Looks good eh?
Of course, it is nothing without the image on the front of the postcard. Before we add them you must carry out a little preparation first. The postcard image size is set by the CSS; in this case 300px high and 500px long. I find Preview best for resizing/cropping images but you can use what ever you wish. Once you have your image ready create a folder on your Desktop called ‘images’; all in lower case.
In the image above you can see the image link that I have added to the code, in this instance “images/image-name.jpg”. Obviously you should change the name of the your image within the code to match the name of the photograph or picture you are using.
For example, your photo may be called “image of the sky.jpg” so you should change the code to read “images/image of the sky.jpg”.
You can also change the alt-text for the image from “Postcard” to something more SEO friendly. It stands to reason that between the ‘h2’ tags you can change the text and add the title of your image and between the ‘p’ tags add some information about the image. Of course you can keep testing each time you change something so that you can see what suits you best; the only thing you won’t have yet is the image on the front.
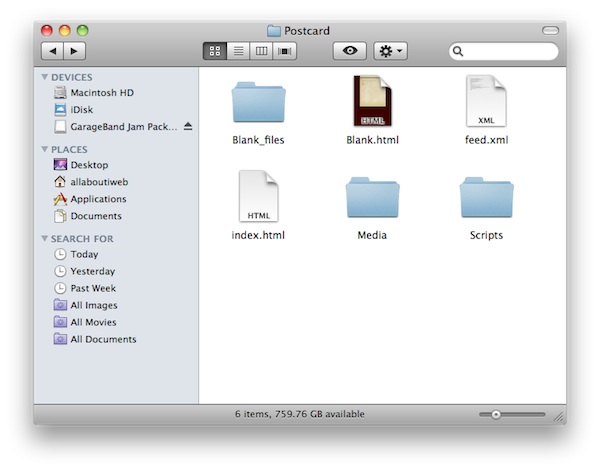
Once you are happy with the text on the back of the postcard and you have it in the right position on your iWeb page it is now time to add the image to the site. Publish your iWeb site to a folder and then, in Finder, navigate to that site. Find the page you have added the HTML Snippet to.
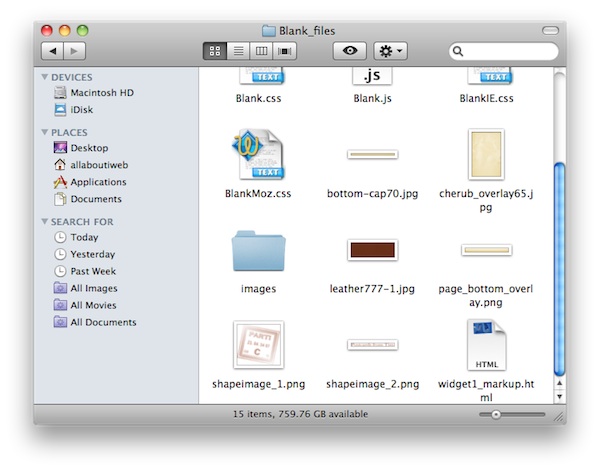
Open the folder that is linked to that page. This is where you copy your ‘images’ folder that you created on your desktop.
Go back one level and open the page with the postcard on in your browser of choice. The image will be there and when you rollover it with your mouse the back of the postcard will display the text you previously entered.
You can now publish your iWeb site as normal; if you are on MobileMe just copy/paste in Finder to your iDisk, if you use your own host then you must use an FTP application. Whatever you do, do not go back into iWeb to publish as you will just lose everything you have done.
The down-side, you will have to repeat this process every time you change your site (although I found that just by adding another page to the iWeb site and then re-saving to a folder it didn’t make any changes to the HTML Snippet and the images folder stayed in place too). Another down-side is that not all browsers yet support CSS3 so this effect won’t work for all of your visitors unless you know they use Safari. IE is catching up, but it’s not quite there.
I hope you like the effect that is achievable with this tutorial, if you have any questions about it o you have used it in your iWeb site please leave a comment.
Download the iWeb Postcard Code here.


Do you have an example of this for us to see how it will turn out?
Thanks and I’m glad you’re back!
Hi Drew,
If you download the code and paste it straight into an HTML Snippet within iWeb you will see the effect instantly.
Tim
Very cool! Your site is awesome. Thank you! I did this in about 30 minutes (to get all of it working correctly). I’m going to work with a little bit more before I publish.
It did NOT work in Firefox version below:
Mozilla/5.0 (Macintosh; U; Intel Mac OS X 10.6; en-US; rv:1.9.2.13) Gecko/20101203 Firefox/3.6.13
It did however, work in Safari.
Thanks again!
How do you publish a Folder without going back to IWeb?
Yelena,
you have to use an FTP app. I recommend CyberDuck. Although if you use Rage’s iWeb SEO Tool you can publish through that too. You need the same FTP settings as you use in iWeb.
Tim
Thank you, Tim! A great site, lots of wonderful tips. Thank you.
Yelena