If this is your first time building a website, or your first time using EverWeb, the prospect can be both exciting and daunting at the same time. When starting out, everything is new and you have to get to know how the software works so that you can make the website that you want. Even though EverWeb makes things as easy as it can for you, inevitably there is a learning curve. There may also be some frustration along the way as well. So, here are some tips on how to get started successfully with EverWeb!
- Start with a Simple Choice
The first thing you will want to do after installing EverWeb is to create a new website. When you create a new website you will be met with the Theme Template Chooser. This is where you choose your website’s design style, from either over 150 predefined design styles, or by creating your own style from a blank theme.
EverWeb has two different types of theme: Fixed Width and Responsive. A Fixed Width theme has a page layout that uses a specific page width, by default 1000 pixels. This page width is suitable for desktop and tablet devices. A fixed width page layout gives you great flexibility when creating your website as you can place objects such as text, images and media, wherever you want. The downside is that because the width of the page is fixed, you also need to create a page specifically for mobile devices as desktop pages will be too wide to display properly on a mobile device.
The second type of theme is Responsive. This page layout type has the advantage that the page width is always 100% of the device width upon which it is being displayed upon. All the objects on the page will be arranged automatically to display correctly whether you are on a mobile, tablet or desktop device. Sounds perfect, but using the Responsive page layout usually entails a steeper learning curve. Designers also sometimes feel that page layout is not as flexible as the Fixed Width page layout.
Generally our advice is to start with a fixed width page layout. This way you get to know EverWeb quicker and it’s conceptually easier to design your site. When you are familiar with EverWeb you can then convert your site to a responsive one if you want. - Familiarize Yourself with EverWeb
One of the most useful things you can do once you have added your first page to your site is to have a look around the EverWeb User Interface. Checkout EverWeb’s menus, The Inspector Tab’s six buttons, the Assets tab and the Widgets tab. On the left side of the User Interface is the Web Page List which is a column listing the pages of your site. If you have just started you will probably only have one page listed. Try clicking or secondary clicking (which is a two fingered tap on your Magic Mouse or Keyboard) in the Web Page List and other areas of EverWeb to see what happens. When familiarising yourself, a lot of what you see probably won’t mean much at the moment, but later on you’ll find it easier to locate the features of EverWeb that you want to use. - Big Ideas? Start Small!
If this is your first ever website then it’s often best to start small. You may have lots of ideas and ambitions for your site, but starting with a simple idea or challenge may be better. In this way you’ll get to know EverWeb quicker which will help you learn quicker. Starting with one small idea means that you will achieve something quickly and there’s less chance of getting frustrated by lack of progress. Remember to note down your ideas and plans so you don’t forget them. You can come back to them when you have gained a bit of experience using EverWeb. - Try Out The Toolbar
EverWeb’s Toolbar is also part of the User Interface and it’s a great starting point for adding objects such as text, shapes and images to your page. Add text to your page using the TextBox button, shapes using the Shapes button and media, such as free to use stock images, using the Media button. Add new pages via the Add Page button to start to build out your site.</li - Discover How Your Page Works
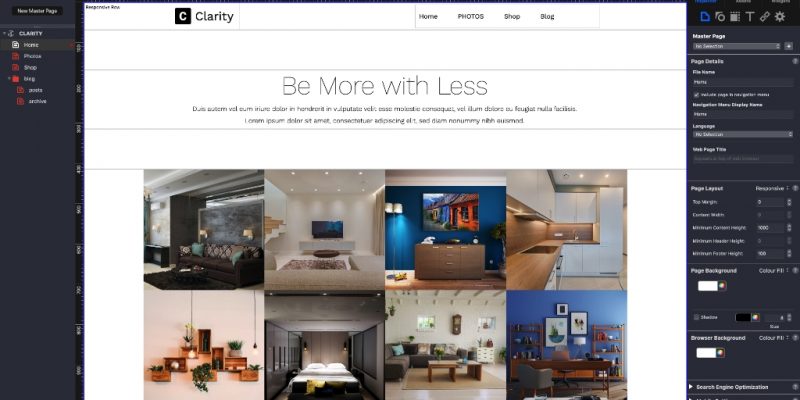
Typically a website page follows the same approach as that of a page in a book. You web page will typically have a header, a body area, a footer and left and right margins. In EverWeb, these areas are separated by blue lines in the Editor Window (the large space in the middle of the User Interface). You can move objects from one area to another by drag and drop the object between each section. If you do this, however, you will need to hold down the Command Key when dragging and dropping the object.
The header, body area, footer layout is typical for fixed width page layout styles. For Responsive page layouts, you will only have a body area and footer in the page layout. - Set Up Some Defaults
When starting out, you will soon notice how repetitive some activities can become e.g. changing the font style and size every time you add a TextBox to the page. There’s no need to have to go through this though! Just go to the Format-> Default Styles… menu option. Here is where you can set up your default fonts and colors for various EverWeb features. Click on Save when done. Your new defaults will apply to anything new that you create. Anything you have done before changing the defaults will still need to be manually changed. - Drag and Drop
One of the things that makes EverWeb a great tool to use to build your site with is its drag and drop capability. Just click and hold on any object, be it text, an image, a widget or media then drag and drop it to where you want it to be. You can drag and drop Widgets out of the Widgets tab and images out of the Assets tab directly on to the Editor Window. You can also drag images and media in to your project from the desktop and from Finder on your Mac as well as from external drives and The Cloud. - Learn About Master Pages
Speaking of saving your time and doing few repetitive tasks when building your website, take a look at Master Pages in the EverWeb User Manual. This is perhaps your greatest time saver as Master Pages give you the ability to create boiler templates for your website. Using a Master Page will give you the same look on every page of your site. It just takes one step: attaching the Master Page template to your page. - Experiment, Experiment, Experiment!
It’s good to play around to see how things work when starting out. You may find that things go wrong or don’t quite make sense, but that’s OK. It’s all part of the learning process. We learn better by making mistakes. Remember though that you can usually undo what you have just done by pressing Command+Z. You also have the steps in the EverWeb User Manual to use to create your first site, or you can try out one of EverWeb’s educational <a href="http:// - Remember to Take a Break!
Learning, whilst being fun, can also become tiring without breaks. Our concentration goes and we forget what we have just learned. So, our last tip is to remember to take regular breaks and look after your mental health and motivation!
” rel=”noopener” target=”_blank”>You Tube videos. And don’t forget that you also have access to EverWeb’s Technical Support and Discussion Forum if you need a bit of extra help along the way.
Building your first website is an exciting thing to do and working smart whilst doing so is always good to do, for now and the future!


Comments