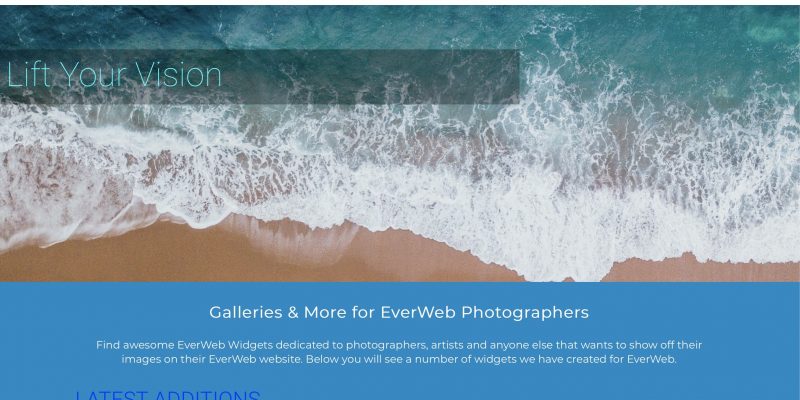
If you’re a photographer and use EverWeb to build your website, then the new EverWeb Galleries website will be of interest to you. EverWeb Galleries is geared towards the needs of photographers, artists and anyone who needs to showcase images in a gallery.
The new site is currently offering two widgets absolutely free! Both widgets are advertised as ‘beta’ but from our testing they seem to work perfectly fine. To install the widgets, first download them from the EverWeb Galleries website to your computer, then drag and drop them on top of the widgets in the Widgets tab to install them. The widgets have been designed for use with EverWeb 2.9 or later. Here’s our review of each widget.
Categories Image Gallery Widget
The Categories Image Gallery widget lets display your images by the categories that you define. You can assign one or more categories to an image. So, for example, you could create a ‘Portrait’ category for your portrait images and a ‘Landscape’ category for your landscape images, or a black and white category for your monochrome images and a color category for your color images. Create the categories you want to use in the ‘Categories’ section of the Widget Settings. When using Categories, remember that there’ll always be a category that displays ALL of the images in the Images List. By default, this category has a label of ‘Show All’ but you can change this just by editing the ‘Show All Label’ input box. The categories will always be displayed across the top of the image gallery itself. You can add categories whenever you want as well as delete any category just by selecting the category you want to remove and pressing the backspace key on your keyboard.
Once you’ve added your categories, add your images in to the Assets List in the ‘Images’ section of the widget. When you add an image, you can assign the categories you want to it. With the image selected in the images Assets List, you’ll see the categories that it has already been added to in the ‘Category’ box beneath the list of images. Below the ‘Category’ list is another Category list, but this time it has a dropdown menu. When you click on the dropdown you’ll see the categories that you added earlier in the Categories section. Select the category you want to assign to the image. If you want to assign more than one category to the image, select the first category you want then reselect the dropdown list and select the second category and so on until you have all the categories you want for the image to be placed in. If you add a category that you don’t want, select the category in the ‘Category’ list directly under the Image Assets List and press the backspace key to delete it.
With the image still selected in the Images Assets List you can choose whether to ‘Zoom Image’ or ‘Go To Link’. When choosing the second option, the click on the ‘Edit Link’ button which is now activated. The ‘Edit Link’ dialog box will appear where you can set up the links as you want.
The image gallery also allows you to add different mouse over effects to your images. The Mouse Over Effects apply to all images in the gallery. Options include zooming in on the image, expanding the image, add image shadows and image borders. You can also set the border color and width and even rotate the image!
The ‘Category Button Appearance’ section of the widget is where you to set the color of the button and its hover and active properties. The Text color can also be changed in the Widget Settings.If you want to change the text font and size, use the Fonts Panel to do this.
The Slide Show Settings and Slide Show Appearance section of the Widget Settings basically mimic those found in EverWeb’s built in Image Gallery and Responsive Image Gallery widgets.
The Image Carousel Widget
The second featured widget is the Image Carousel widget which displays a rotating set of images with one image always being front and center. You can set how fast the carousel rotates as well as how long the image at the front is paused for before the carousel rotates to show the next image.
To start, drag and dropping the widget on to the page. In the Widget Settings add the images you want to use in the carousel. To do this, use the ‘Add’ button to add images to the Assets List. As you add each image, also add its Aternative Image Text. This text should describe what the image is e.g. ‘a ship in a harbor’. Alt Text is primarily used when the image cannot be displayed on the page. If this happens, the Alternative Text is displayed instead. However, Alt Text also has a useful secondary function in that it gives your page some SEO benefits.
The Image Carousel’s appearance can be customized to show navigation arrows and/or dots. You can also set the maximum height of the image and set scaling options (most of which should be familiar to EverWeb users), such as scale to fit, stretch, scale to fill etc. The space between images and the number of images to show at one time in the carousel can also be customized. The last section of the Widget Settings lets you control the behavior of the carousel itself. You can set which is the first slide in the Assets List to be viewed, the number of images to be scrolled and the speed of the scrolling.
The Image Carousel widget is a simple, but effective widget that is great for using on your Landing page!
For more information about EverWeb Galleries visit their website at www.everwebgalleries.com. If you have any feedback about the widgets, complete the contact form which can be found on the About page of the website.


Comments