In our previous blog we looked at how to organize assets using EverWeb 3.0’s new Assets Organizer. In this blog, we’re going to take an in-depth look at how you can organize your third party widgets using EverWeb’s Widget Organizer.
The Widget Organizer was introduced in EverWeb version 2.8 and is a must have feature if you have third party widgets installed. The Widgets Organizer lets you easily categorise these widgets in just a few simple steps.
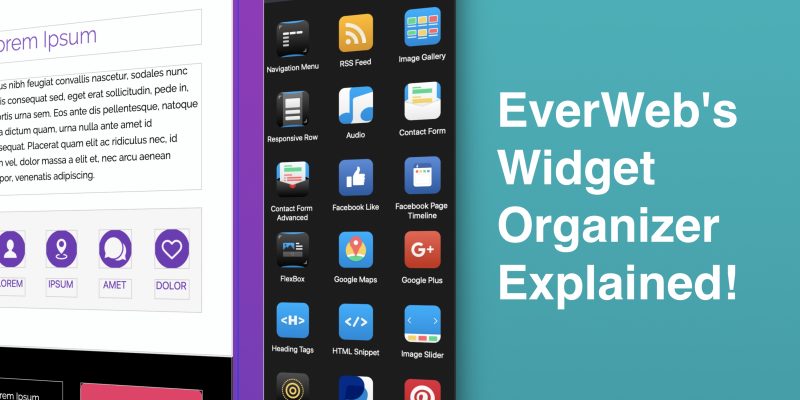
Widgets Organization: An Overview
EverWeb 3.0 includes 24 built in widgets. You can add free to use, or purchasable, third party widgets in to any version of EverWeb. However, before you do so, check that the widgets you want to use are compatible with the version of EverWeb you’re running. For example, a third party responsive widget will only run on EverWeb version 2.8 or higher, as this is the version that introduced Responsive Web Design to the product. If you’re unsure if your third party widget is compatible, check with your third party provider, or upgrade your version of EverWeb to the latest release.
In addition to the Widgets Organizer letting you categorise your third party widgets, installing your third party widgets has been made super easy as you’ll find out below…
What Do I Need To Get Started?
To use the Widgets Organizer you will need to be using EverWeb 2.8 or higher and, of course, some third party widgets! It doesn’t matter if you have already installed some third party widgets as we will they can also be moved and categorized.
Widgets Organizer Settings
First open your EverWeb project then click on the Widgets tab.Below the Widgets tab is a dropdown menu and three buttons that organize and manage user defined widget categories:
- The Widget Category List dropdown menu. The dropdown always includes the ‘All’ and ‘Default’ categories and user defined categories. The ‘All’ category displays all the widgets installed on your computer, including EverWeb’s twenty four default widgets. Any third party widgets can be added, moved or deleted from this category.
A couple of things to note:
- You can’t delete or move any of EverWeb’s default widgets.
- If you ‘move’ a third party widget in to another category the widget stills appear in the ‘All’ category as well as in the category that the widget was moved to.
The ‘Default’ category displays EverWeb’s twenty four pre-installed widgets. You can’t add any widgets in to this list nor can you move these widgets to other categories or delete them. If you don’t have any third party widgets installed, the ‘All’ and ‘Default’ categories will look the same.
If you have created your own categories, these will be listed below the ‘All’ and ‘Default’ categories. To the right of the Widget Category List are three buttons:
- The ‘Remove Category’ button is used to delete a Widget Category.
- The ‘Category Settings’ button is used if you want to rename a Widget Category.
- The ‘Add Category’ button is used if you want to create a new Widget Category.
Now that you are familiar with the Widgets Organizer’s settings, you can now add, move and delete categories and widgets.
Adding Your Third Party Widgets
All you need to do to add your own third party widgets in to the Widgets tab is to drag and drop them on to the the widgets in the Widgets tab. You can also drag and drop your third party widgets into user defined categories too. Just select the category you want using the Widget Category List, then drag and drop your widgets into the space where the widgets are usually displayed.
When adding third party widgets to a user created category, they will also be added in to the ‘All’ category.
Adding a Folder of Widgets To The Widgets Organizer
EverWeb makes it easy to add widgets from a folder to the Widgets tab. This is handy many third party widget providers sell their widgets in ‘packs’. Rather than having to install each widget from the pack one at a time, just drag and drop the complete folder of widgets on top the Widgets list. EverWeb automatically creates a new category using the name of the folder as its category title. Inside the category will be all the widgets from the folder. To rename the Category name, use the Category Settings button.
Creating a New User Defined Widget Category
To create a new user defined category, click on the ‘+’ button in the Widget Category Settings. Enter the name of the Widget Category in the dialog box, then click the ‘OK’ button to finish. You can use some special characters in the name. If you use characters that are not allowed, EverWeb will ignore them. If you create a category name that already exists, EverWeb will ask you to change the name so that it is unique.
Adding Widgets to a User Defined Widget Category
When you create a new user defined widget category, it becomes the currently selected category. You can now drag and drop your third party widgets in to the blank space in the Widgets tab to add them in to the category.
To add third party widgets that you have not yet installed to an existing user defined category, select the category you want using the Widgets Category List. Drag and drop thewidgets on top of the widgets that are already in the selected category.
Adding Already Installed Third Party Widgets In To a User Defined Category
If you have already installed third party widgets that you want to move in to a user defined category, it’s easiest to start from the ‘All’ category as this is where all of the widgets installed on your computer are displayed. Secondary click on the widget that you want to add to your user defined category. From the submenu that appears, choose ‘Move…’ and select the category you want from the list. The Widget will still appear in the ‘All’ category but will also be copied to the category that you have selected.
You can use this method when in any user defined category to move widgets from one user defined category to another.
Renaming a Widget Category
If you want to change the name of a user defined category, first select the category using the Widget Category, then click on the Category Settings button. In the dialog, update the category name and press ‘OK’ when finished.
Deleting Widgets
If you have moved a third party widget using the above steps, you may have noticed that secondary clicking on a widget gives you the option to ‘Delete’ the selected widget. When choosing to remove a widget, EverWeb will ask you to confirm the deletion.
When you have deleted a third party widget it will be placed in the Trashcan. This is useful to know if you accidentally delete a widget! To undelete the widget, open the Trashcan and drag and drop the deleted widget back in to the Widgets list.
Deleting a User Defined Widget Category
If you no longer need a user defined widget category, you can remove it by first selecting the category from the Category List dropdown menu. Use the ‘-‘ Remove Category button to initiate the deletion. A dialog box will appear with three options.
- Select ‘Delete Widgets’ to delete the category and the widgets it contains
- Select ‘Keep Widgets’ to delete the category and move its widgets back in to the ‘All’ category
- Select ‘Cancel’ to stop the category deletion.
Widget Organization in EverWeb is very easy and very flexible, saving you time and effort installing and finding the widgets you need when you want to use them!


Comments