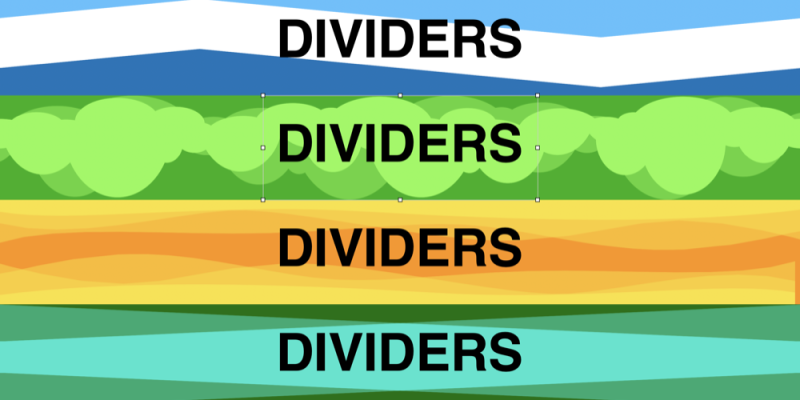
Sometimes what seems to be a relatively small new feature in a product can make a big difference to you! In the recently released EverWeb 3.9, that feature comes in the form of its new ‘Dividers’ feature.
What are EverWeb’s Dividers?
Dividers allow you to add styling features to the top and bottom of almost any object you choose. You can style either the top of an object, the bottom of an object, or both with one of sixteen different styling types. The files containing the Divider styles are Scalable Vector Graphic (SVG) files. This means that the effects will scale appropriately on whichever device a Divider is displayed upon, which is especially good news on mobile devices! Using SVG files also means that you can use Dividers on both fixed width and responsive website layouts with ease.
Although you can use a Divider on any object, the feature is called ‘Divider’ for a reason as its typical usage would be to add transitional styles between sections of your pages. For an example, checkout EverWeb’s own landing page. Here you can see some great examples of different Divider types.
The second reason that Dividers are a great new feature is that they can be used to add creative styling to full width objects such as the Responsive Row widget. This increases your styling possibilities enormously and is super easy to do.
Lastly, Dividers are a great way to give subtle visual queues to your visitors to help them navigate further down the page they’re currently on!
Adding Dividers To Objects On The Page
Before we delve deeper in to the features of Dividers, let’s start by adding a top and bottom divider to an object on the page of your EverWeb made website. As mentioned earlier, Dividers are great to use on Responsive pages, and in particular with the Responsive Row widget, so we will use this as our example.
- First drag and drop the object of your choice on to your page and size and position it as you want – in this example a Responsive Row widget
- With the object still selected, go to the Inspector Window and select the Shape Options button.
- Towards the bottom of the Settings on this tab you will see the Dividers section. If this section is closed, just click on the triangle to the left of the word Dividers to open the section for use.
- There are two buttons available: ‘Top’ to set a Divider at the top of the object and Bottom to set a Divider at the bottom of an object. Click on the button of your choice. In this example, we will start with the ‘Top’ button which is already selected by default.
- To activate the Divider settings click on the ‘Use Top/Bottom Divider’ checkbox. The settings will be activated.
- Next choose the Divider style that you want to use. Click on the ‘Select’ box. You will see a scrolling list of Dividers displayed.
- Double click on the Divider of your choice to select it. If you want to choose a different Divider from the one you initially selected, just click on the Divider image and select a different Divider.
- Once you have selected a Divider, its options will become available below the Divider image. When selecting the settings you want to use, the Divider will automatically update in the Editor Window.
- If you have set your settings for a Divider but then select to use a different Divider, the original Divider settings will remain in place.
- Note also that some settings automatically disable other settings, most notably ‘Place outside element’ and ‘Show above content’ are mutually exclusive.
Styling Options with Dividers
As previously mentioned there are sixteen Divider styles available, but the range of options that you can use gives you many possibilities yo create just the look that you want for your page. One interesting feature is displaying the Divider outside of the object that it’s being used upon. This can help you create a good looking visual border which can be a useful tool when you want to emphasize the content within the object. Dividers are also great to combine with other EverWeb styling options such as the Shape Options Fill options. Using various color options in conjunction with Dividers can make for interesting and attractive contrast effects for the objects and sections of your pages.
Removing a Divider
If you’ve used a Divider but no longer want to use it, just uncheck the ‘Use top/bottom divider’ checkbox. If you decide to reinstate the Divider at a later time, just recheck the box. Your original settings will again be displayed.
The best way to get the most out of EverWeb’s new Dividers feature is by experimenting with the different styles and effects that are available. Combined with color or images, you’ve got a great way to help focus your visitors on the content on your page as well as giving your site a unique look! And don’t forget that this feature is available on both Mac and Windows versions of EverWeb as of EverWeb 3.9.1.
If you have any questions about EverWeb’s new Dividers feature, or about EverWeb in general, please let us know in the Comments Section below.


Comments